
Sat about analyzing where I went wrong when I realized I had added too much butter for that amount of plain flour used. I had measured the flour in a cup and should have checked to see how much grams it equaled to! Its basic maths gurl!!
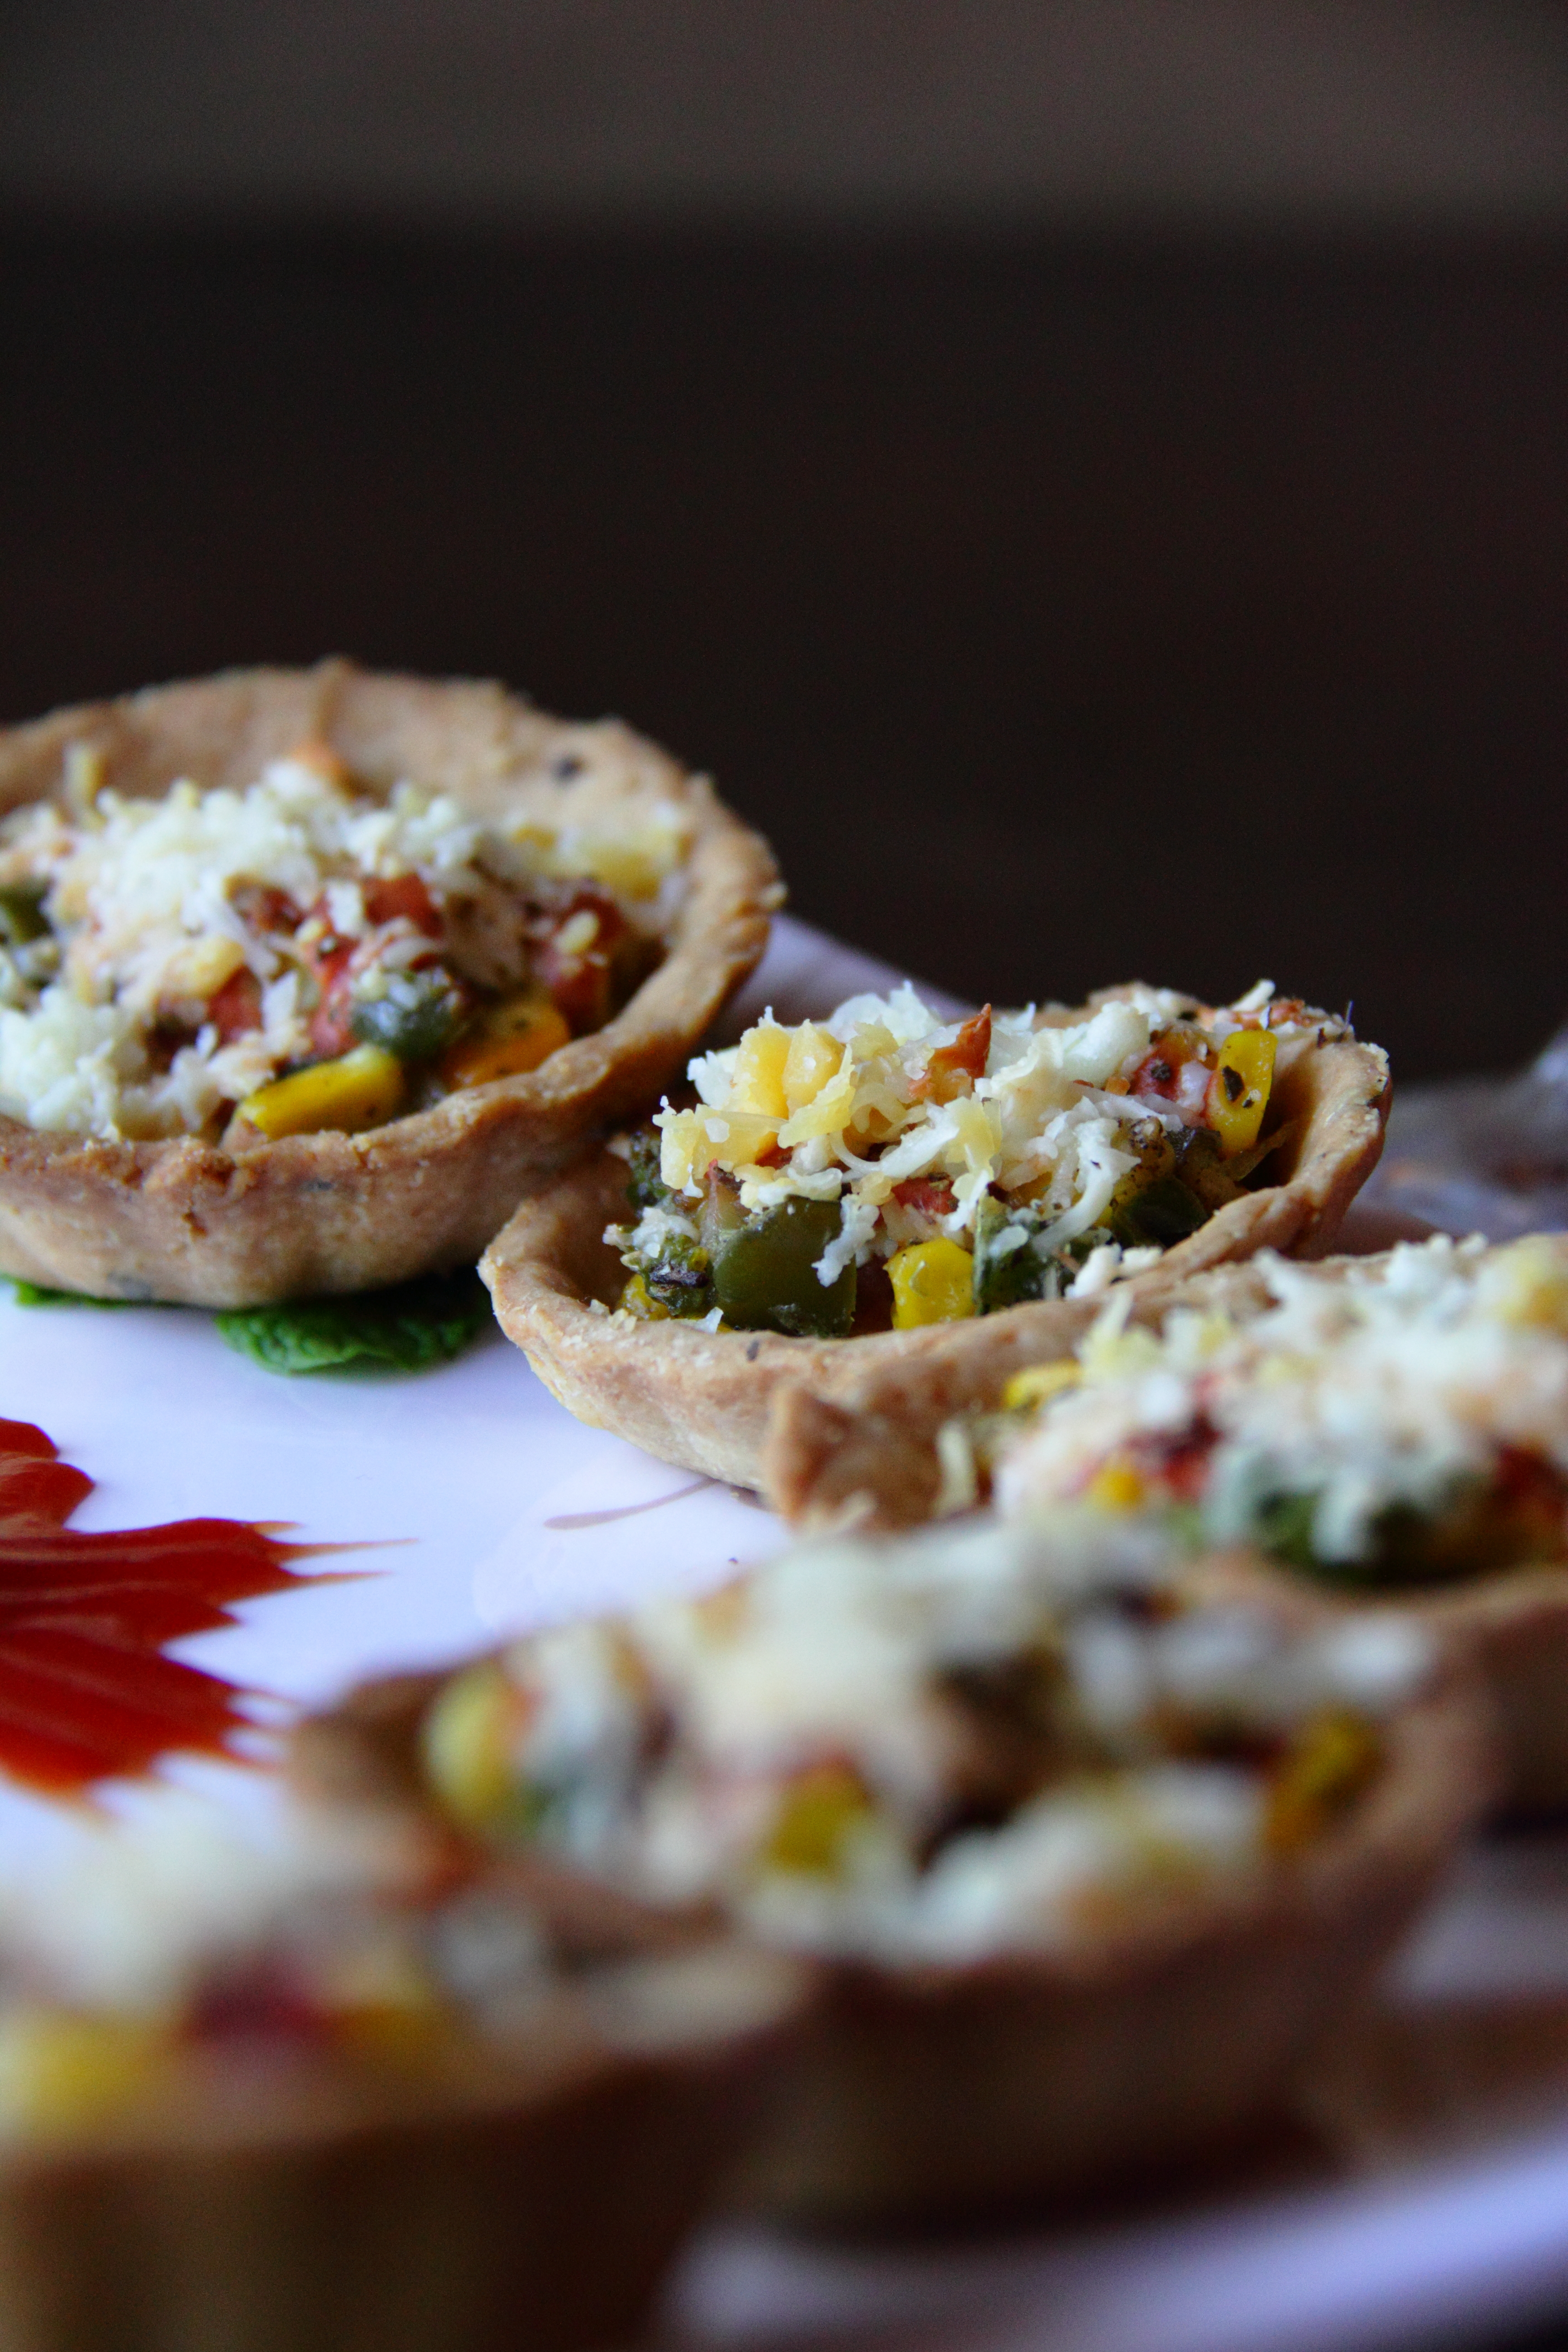
It was time for the third attempt. This time I had decided I would use only the gram measurements..:) Set about mixing and kneading and baking and there came out a beautiful tart base. Well not an exact one you will find in a bakery or like those done by expert home cooks. But it was to my satisfaction level. Loved the aroma too from the oregano. They even tasted good plain and without the filling! Tasted similar to the Spicy/ Khara biscuits we get at bakeries!
I cannot say this is the perfect tart base recipe..I may need to make a few more changes maybe the next time I get the motivation to try another batch of the tartlets. But this will do for the time being… 🙂 So do feel free to make changes to this as per your taste.
Some even add a pinch of baking powder when sifting the flour. Not sure what difference it would make. Need to try it next time.
Now to the recipe. Here is the recipe for the base and click here for the complete recipe, filling `et all!
Shortcrust Pastry
Tart base recipe.
- Plain flour – 100 gms
- Wheat flour – 150 gms
- Butter (chilled – 125 gms)
- Salt – 1/2 tsp
- Pepper powder – 1 tsp
- Powdered sugar – 1/2 tsp
- Dried oregano – 1 tsp
- Chilled water – to knead dough
Equipment needed
- individual/ mini tart moulds (oven proof)
For the Base/ Tartlets
- Sieve the flour into the mixing bowl. Add the salt, powdered sugar, pepper powder, oregano. Mix lightly.
- Cut the butter into cubes. If it turns bit warm by the time you finish cutting them up, regrigerate the butter cubes for about 5 mins.
- Add the chilled & cubed butter into the flour. Rub in the flour gently with your fingertips till the mixture resembles breadcrumbs/ pea sized pieces of butter remain.
- Now add the cold water a tablespoon at a time & mix to make a stiff dough. You may find that they do not perfectly hold together but will turn out fine later on. Flatten to a thick disc, wrap in cling film and refrigerate for 30 mins.
- Then remove dough. Divide the dough into golf sized balls (depends on the size of your tart moulds). Roll out on a lightly floured surface with the help of a rolling pin. The rolled out dough should not be too thick nor too thin. They should be of size slightly bigger than the tart mould so that they cover the base and a little of the sides as well.
- Press the rolled out dough into mini tart moulds. Trim at the edges if they peek out from the moulds. Prick with fork to prevent the base from puffing up.
- Blind bake the dough in a preheated oven at 200 C for 10-15 mins or till pale golden.
- Cool and use as required.
You can knead/ prepare the dough in a food processor too. To mix in a food processor, combine both flours, salt, oregano, sugar in it & pulse once to mix. Now add in the chilled butter cubes & pulse 6 to 7 times till it resembles breadcrumbs or pea sized pieces of butter remains.
Add the ice cold water a tbsp at a time and pulse until the mixture just starts coming together. To check if done, take a small portion of this flour mixture & if they hold together, its ready.
Transfer dough onto a clean surface and knead lightly to bring it all together. Divide into balls and proceed as above.
Dough is wrapped in cling film and refrigerated for at least half hour to make the dough firmer & easier to handle. It can be refrigerated for a day or two even.In that case, before you divide into balls, keep the dough aside at room temp for about 5 to 10 mins so that they soften a bit & makes rolling out easier.
The base can be blind baked and stored in an airtight container for few hours or upto 1 day in advance. At serving time, keep the filling & bake/ serve as the recipe requires.
Always knead a tart dough gently and never apply too much pressure.
One of the secrets to getting a flaky pie crust is to use chilled butter.
Instead of wheat flour and maida, you could 250 gms plain flour too.
If making the base for a sweet filling, skip the oregano, pepper. And make the base from only 250 gms plain flour.
Some recipes call for bringing butter to room temp and then adding flour to it. So this goes to my to-do list and hopefully this method is a lot less tricky!!
